Lighting can be one of the most powerful assets a photographer has at his or her disposal when photographing people or landscapes, and this course aims to show photographers of all levels how best to utilize this golden hour period of the day.
Sunrises
Photographers and the general public often gravitate toward sunsets when it comes to photography, but sunrises should also be given their due consideration. Sunrises offer stunning opportunities to capture beautiful images with gorgeous sky and cloud textures, and when combined with rising sun light casting a warm tint over the scene it can produce amazing shots!
Arriving early at your sunrise photography location is key for success. Know when golden hour begins in your location, and plan to arrive a few minutes prior to its commencement. Arriving early allows you to scout out potential compositions before the light hits, particularly in more urban settings where buildings may obscure views. Furthermore, prepare all equipment the night before so you can quickly begin working once you arrive on site.
At golden hour, there tends to be less people around compared with sunset – making shooting iconic locations that become busy during evening hours, like city squares or rivers, easier.
Golden hour lighting creates soft and warm lighting conditions that are both beautiful and flattering for portrait photography. Wedding photographers frequently opt to schedule photos at this time of day so their couples can look their best under these romantic light conditions.
One of the greatest difficulties associated with shooting during golden hours photography is capturing its wide tonal range in one exposure. If this presents itself, consider bracketing your shots and then blending them post-processing for more balanced tones in your final image. A graduated neutral density filter may also help limit sky blown-out while providing sufficient foreground exposure.
Sunsets
The golden hour, also known as magic hour, occurs between sunrise and sunset when light has soft, warm tones with beautiful hues – making it the ideal time for landscape photography and often considered the most photogenic time of the day. Although shooting during this window of opportunity presents unique photographic challenges.
At times, it can be challenging to achieve sufficient depth of field when photographing foreground elements like rocks and trees, due to soft light that requires you to use smaller apertures. To combat this, try employing the “double distance” focusing technique: calculate how far away is the element in your frame that needs to be sharp, and focus on this point at twice that distance so as to ensure your whole image remains in focus.
Un other challenge lies in managing the large contrast between sky and landscape, which can be accomplished either through multiple exposures merged together post-processing or by employing a graduated neutral density filter. Arriving early to your scene may also prove useful so as to maximize opportunities during Golden Hour – such as being ready when it starts/ends!
Note that the Golden Hour isn’t set in stone – its precise timing will change throughout an hour and throughout a day, providing some beautiful colours and lighting effects as it passes by. Therefore if shooting in one location it can be worthwhile staying until after its end for best results.
As photography in the Golden Hour is such an intimate experience, having the appropriate camera equipment is absolutely key for creating captivating images. A high quality zoom lens is essential as it enables you to zoom close up for detail and color capture of your subject matter, while wide angle lenses give an expansive perspective on each shot taken.
Winter
Golden hours provide ideal landscape photography lighting conditions with soft, warm and highly saturated light that creates longer shadows and dramatic highlights. Unfortunately, golden hours don’t last forever: depending on season and location they can last anywhere between 30 minutes to several hours, making timing essential when trying to capture that ideal picture.
Winter golden hour starts later than its summer counterpart due to the Sun being closer to the horizon and lower in the sky, offering softened sunlight while creating issues with depth of field and forcing photographers to plan more carefully before shooting.
An effective way to ensure that your shot is crisp is by employing the “double distance” focusing technique. Simply calculate the distance from an object you wish to be sharp in your frame and focus on something at double this distance; this will prevent blurry or out-of-focus photographs during golden hour photography sessions.
Landscape photographers tend to gravitate toward shooting during the golden hour for its beautiful lighting; however, other times of day may offer equally good photographic opportunities. Animals become more active when parks are less congested, parks become less overrun, and you can witness first-hand how the mountains’ beauty evolves throughout the day.
Best of all, you don’t have to set your alarm early and compete with photographers trying to capture that perfect sunrise or sunset shot – you can sleep in and still spend plenty of time photographing mountains at sunrise and sunset before returning home.
Rise is an app that makes taking sunrise and sunset pictures even easier, offering stunning photographs without all of the noise of traditional cameras. So don’t miss your opportunity to witness one of winter’s breathtaking mountain sunrise or sunset scenes this season.
Summer
The golden hour refers to that short period before sunrise or sunset when the sun creates soft, warm, golden colored light that’s often romantic and perfect for portrait photography of couples; however, you can also capture powerful landscape photos during these magical hours.
Photographing during the golden hours at its most dramatic is best done when the sun is low on the horizon. This allows more dramatic scene as sunlight reflects off of surfaces and illuminates distant features in landscape.
Summer’s golden hours tend to be shorter, due to an earlier sun rise and later sunset time, meaning you must wake earlier and be ready for sunset around 6pm instead of 7 or 8pm. Tripods are essential when shooting during golden hours as it becomes increasingly difficult to hold steady the camera with decreasing light levels; using one will ensure photos that are sharp with little blurring.
To achieve a deep enough depth of field during golden hours photography, use a relatively small aperture such as f/11 or f/16. A larger aperture would cause surrounding areas to blur out as well, making it hard to achieve sharp focus throughout your frame. To help maintain central focus point positioning within your frame, the double distance focusing technique may prove useful; simply calculate how far away from you an object needs to be before focusing at double its distance away from you.
Know when the golden and blue hours occur so you can plan shots ahead. There are apps and websites which will inform you when golden hour begins and ends for your specific location; additionally they often offer weather reports which provide details such as whether there’s high or low clouds which could spoil lighting conditions.
Related Posts
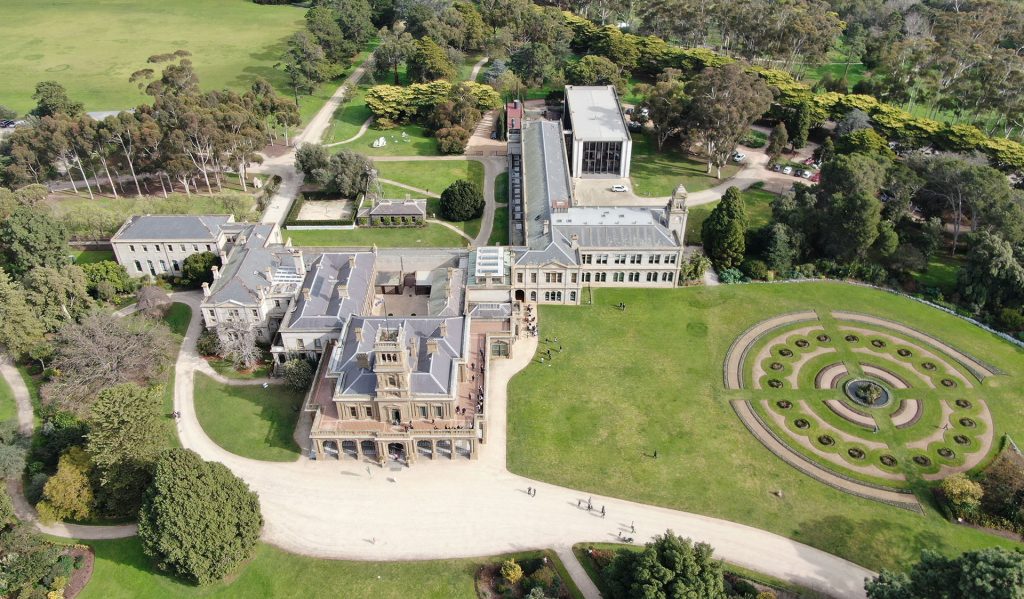
Werribee Park Mansion
Image courtesy of Parks Victoria Werribee Park is a historical building…
High Country’s Winter Photography
Winter conditions present photographers with unique landscape photography opportunities, so…